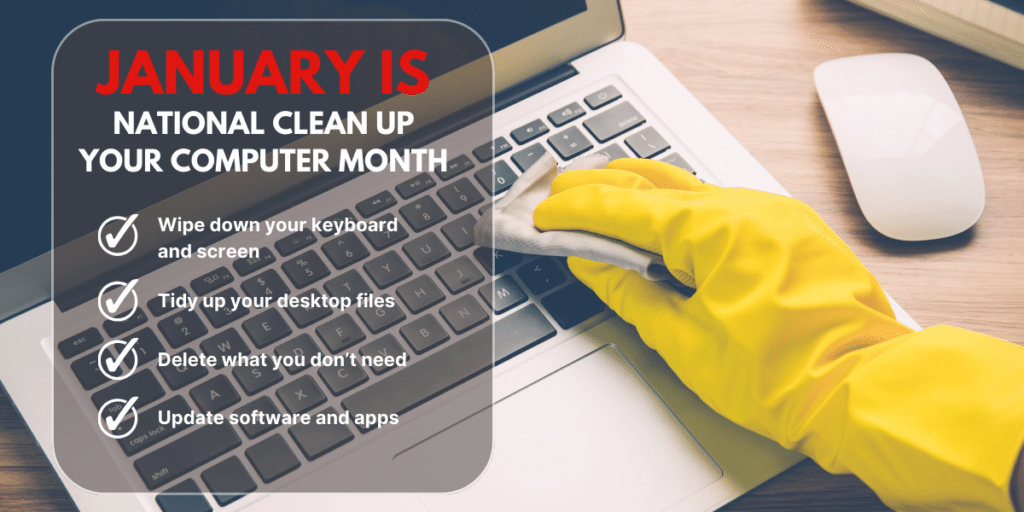
It’s time to wipe down those keyboards and tidy up those desktops because January is National Clean Up Your Computer Month. As the new year rolls in, it’s all about embracing healthier habits. With the countless hours spent before screens, your PC or laptop likely needs a thorough refresh. We’ll walk you through some simple steps you can take to declutter your digital life, ensuring you step into the year with a clean slate.

Clean Your Physical Hardware
Start by giving your physical hardware a good clean. Trust us, your keyboard and screen will thank you! Start with the exterior. Wipe down your monitor, dust off your desktop, and clean out those ports. Your keyboard, a notorious haven for crumbs and dust, deserves a meticulous cleanse. Shake out the debris, gently clean between the keys, and sanitize the surface.
Don’t forget the mouse and touchpad, which frequently come into contact with your hands. A thorough clean not only maintains the longevity of your devices but also creates a more pleasant and hygienic working environment.
How To Clean Your Computer Screen
- Power Down: Ensure your computer or laptop is turned off and unplugged from any power source. This is for safety and allows you to see dirt and smudges more clearly.
- Wipe the Screen: Use a soft, lint-free microfiber cloth. Avoid paper towels, toilet paper, or old rags, which can scratch the screen or leave lint behind. Gently wipe the screen in a circular motion. Don’t press hard, as this could damage the screen. Start from the top and move to the bottom.
- Use Distilled Water or Screen Cleaner:
- For stubborn spots, never spray or apply cleaning solution directly onto the screen. Instead, apply a little more distilled water or screen cleaner to the cloth and try again.
- Distilled Water: Lightly dampen the cloth with distilled water, not tap water (which may contain minerals that could leave a residue).
- Screen Cleaner: Alternatively, use a cleaner specifically designed for screens. Avoid household cleaning products like Windex or anything containing ammonia or alcohol, as these can remove screen coatings or damage the screen.
Reminder:
- Dry Off: If any moisture remains, gently wipe it off with the dry side of the microfiber cloth or use another dry cloth.
- Keyboard: Turn it upside down and gently shake to dislodge crumbs and debris. Use compressed air to blow out debris from between the keys. Wipe the keys and surrounding areas with a lightly dampened microfiber cloth with water or isopropyl alcohol.
What to Avoid
- Never spray liquid directly onto the screen.
- Avoid ammonia, ethyl alcohol, toluene, acetone, or ethyl acid.
- Don’t allow any excess liquid to go into the edges of the screen.
- Avoid abrasive cloths, towels, paper towels, or similar items.
By following these steps, you can safely clean your computer or laptop screen without risking damage. Regular cleaning can help keep your device looking new and ensure clear visibility for your work or entertainment.
Clear Out The Clutter: Organize Your Desktop
A cluttered desktop is a cluttered mind. Take the time to sift through each file and program cluttering your screen. Begin by creating a logical folder structure, categorizing documents, images, projects, and other materials into distinct areas. This might mean having separate folders for work, personal projects, finances, or anything else pertinent to your digital life.
For Windows
Right-Click on the Desktop:
- Find a blank space on the desktop and right-click.
- Select ‘New’: A menu will appear after you right-click. Look for the “New” option.
- Choose ‘Folder’: From the submenu that appears under “New”, select “Folder”.
- Name Your Folder: After clicking “Folder”, a new folder will appear on your desktop with the default name “New Folder” highlighted. Type the name you want for your folder and press Enter.
For macOS:
Right-Click on the Desktop:
- Find a blank space on the desktop and right-click. If you’re using a trackpad, you can typically right-click by tapping with two fingers.
- Alternatively, hold down the control key and click on the desktop.
- Select ‘New Folder’: A menu will appear. Choose “New Folder” from the menu.
- Name Your Folder: Similar to Windows, a new folder will appear on your desktop ready for you to name. Type the desired name for your folder and press return.
Tips:
- You can drag and drop files into your new folder to keep your desktop organized.
- If you ever need to rename the folder, right-click (or control-click on macOS) on the folder and select “Rename”, then type the new name.
Shortcut Keys:
- Windows: You can also use the shortcut Ctrl + Shift + N to create a new folder in an open space on the desktop.
- macOS: The shortcut Cmd + Shift + N will create a new folder on the desktop.
Creating folders on your desktop is an excellent way to organize your files and keep your workspace tidy. By investing this effort now, you’ll spend significantly less time searching and more time being productive later.
Delete What You Don’t Need
Are unread emails haunting you? Do a quick sweep! To mass delete emails in Outlook, all you have to do is click the first email and then use Shift+Click to select a range or Ctrl+Click to select individual emails scattered throughout your list.
Caution:
- Be sure of what you’re deleting. It’s easy to accidentally select important emails, especially when deleting in bulk.
- If you accidentally delete emails, you can usually recover them from the Deleted Items or Trash folder, but only for a limited time.
Additionally, take a moment to unsubscribe from newsletters or promotions you no longer find valuable. Most emails have an unsubscribe link at the bottom, and taking the time to click it can significantly reduce the volume of incoming mail.
Update Software and Apps
We’re nudging you again. Update your apps and software! It’s crucial for security and performance. Outdated software can cause disruptions and is open to vulnerabilities.
Don’t let the process overwhelm you. Most modern systems and applications offer automatic update options, making it easier to stay current. However, it’s still important to periodically check that these updates are being implemented as they should be. Some updates require a restart or specific permissions to install, so be sure to give your device the attention it needs to complete these processes.
If you’re unsure about the status of your software or how to update it, don’t hesitate to reach out to your IT support team.
Change Your Wallpaper
Revitalize your workspace by giving your desktop a fresh new wallpaper. It’s a small change with a big mood boost! Maybe you need the calming influence of a scenic mountain range or the joyful spark of playful puppies. Perhaps an inspirational quote or a piece of abstract art will stir your creativity every time you minimize a window.
Changing your wallpaper is an easy process, usually just a few clicks away in your system settings.
Windows 11
- Select Start > Settings > Personalization > Background.
- In the list next to Personalize your background, select Picture, Solid color, or Slideshow.
Windows 10
- Select Start > Settings > Personalization > Background.
- In the list, select Picture, Solid color, or Slideshow.
Mac
- Open System Settings in the apple menu
- Select wallpaper and choose one of the options or upload a photo of your own.
Each glance at your screen can then become a brief escape or a burst of inspiration, helping to lift your spirits and carry you through the afternoon slump.
A Proactive Plan For Your Internet Devices
A well-organized digital space can boost your productivity, secure your important data, and even speed up your computer’s performance.
If you’ve recently invested in a new laptop or PC, or even if you’re looking to better maintain your current one, consider safeguarding it with our comprehensive Guardian program.
Our Guardian program provides unlimited support during business hours, anti-virus/anti-malware software, data backup, remote support, and daily monitoring of this software by our technicians. And the best part?
We don’t rely on third-party technicians. Our skilled in-house team is always on standby to address your concerns directly. When you reach out to our help desk, rest assured, you’re speaking to a member of the JSI team, ready to resolve your issues with expertise and care. Reach out to us to learn more and get started!

